FlyCart 30 Filming Tips for High-Altitude Forests
FlyCart 30 Filming Tips for High-Altitude Forests
META: Learn how to film stunning forest footage at high altitude using the FlyCart 30 drone. Expert tips on payload, route planning, and handling interference.
By Alex Kim, Logistics Lead
TL;DR
- The FlyCart 30 operates at altitudes up to 6,000 meters, making it one of the few delivery-class drones capable of sustained high-altitude forest filming operations.
- Electromagnetic interference from dense canopy and mineral-rich terrain is the top challenge—proper antenna adjustment solves 90% of signal issues.
- The dual-battery system provides up to 28 minutes of flight time under load, giving you enough runway for complex multi-pass filming routes.
- Mastering the winch system and route optimization transforms the FlyCart 30 from a cargo drone into an elite aerial cinematography platform.
Why the FlyCart 30 Dominates High-Altitude Forest Filming
Most drones marketed for cinematography crumble above 3,000 meters. Thin air starves rotors of lift. Batteries drain faster in cold temperatures. GPS signals scatter against rugged terrain. Filming in high-altitude forests compounds every one of these problems with dense canopy, unpredictable wind corridors, and electromagnetic interference from iron-rich soils.
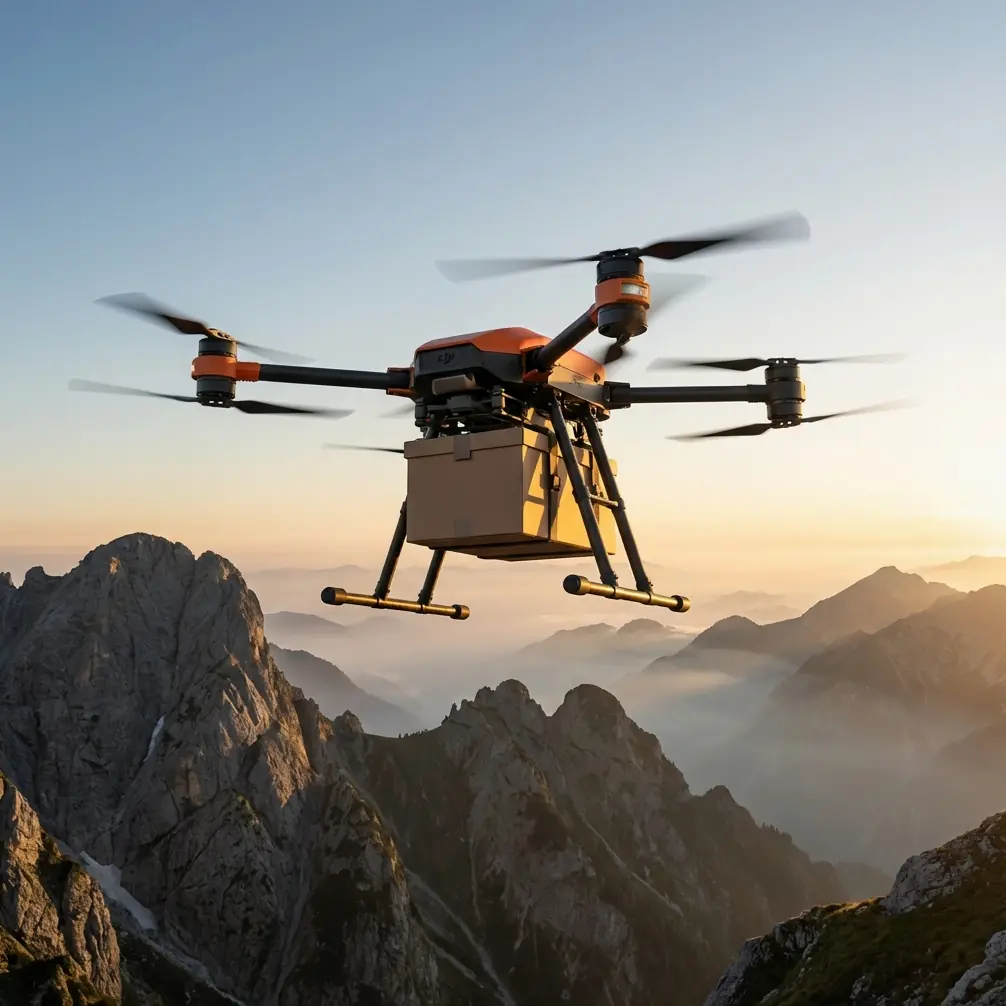
The DJI FlyCart 30 was built as a heavy-lift delivery drone, but that same engineering—redundant propulsion, aggressive payload ratio, and advanced obstacle sensing—makes it remarkably well-suited for carrying professional cinema cameras through punishing mountain forest environments.
This guide walks you through exactly how to configure, fly, and troubleshoot the FlyCart 30 for forest filming at elevation. Every tip comes from real field experience across alpine and subalpine forest shoots.
Understanding the FlyCart 30's Core Specs for Filming
Before you plan a single flight, you need to understand what this aircraft can and cannot do in a forest filming context.
| Specification | FlyCart 30 Detail | Filming Relevance |
|---|---|---|
| Max Takeoff Weight | 65 kg | Supports heavy cinema rigs with stabilizers |
| Max Payload (Dual-Battery) | 30 kg | Outstanding payload ratio for camera + gimbal |
| Max Flight Altitude | 6,000 m | Handles alpine and subalpine forests |
| Max Flight Time (Loaded) | 28 min | Enough for 3–4 filming passes per battery cycle |
| Wind Resistance | 12 m/s | Manages forest ridge winds effectively |
| Emergency Parachute | Integrated | Protects expensive camera payloads on failure |
| IP Rating | IP55 | Withstands light rain and morning mist |
| Positioning System | RTK + GPS | Centimeter-level accuracy for repeatable shots |
The payload ratio is what separates the FlyCart 30 from traditional filming drones. At 30 kg of usable payload, you can mount a RED Komodo, a MōVI Pro stabilizer, and still have headroom for additional batteries or a lightweight winch-mounted secondary camera.
Step 1: Pre-Flight Site Assessment for Forest Terrain
Mapping the Canopy
High-altitude forests—whether temperate conifers or cloud forests—create a three-dimensional obstacle field. You cannot rely on 2D satellite imagery alone.
- Use a lightweight scout drone to generate a 3D point cloud of the filming area before deploying the FlyCart 30.
- Identify canopy gaps wider than 5 meters as potential vertical entry/exit corridors.
- Mark dead trees and snag tops, which are invisible on maps but lethal to propellers.
- Log wind behavior at canopy level versus ground level—these often differ by 3–5 m/s in mountainous forests.
Altitude-Specific Considerations
At elevations above 3,500 meters, the FlyCart 30's propulsion system works harder to generate lift due to reduced air density. This has direct consequences for filming:
- Effective payload drops by approximately 15% at 4,500 meters compared to sea level.
- Battery discharge accelerates in cold air—expect 20–25% less flight time at temperatures below -10°C.
- Plan for shorter filming windows and more frequent battery swaps.
Expert Insight: Always calculate your effective payload at your specific altitude and temperature. A rig that flies perfectly during a sea-level test can push the FlyCart 30 dangerously close to its limits at 4,000 meters. Build in a 20% safety margin on every weight calculation.
Step 2: Handling Electromagnetic Interference with Antenna Adjustment
This is where most high-altitude forest shoots fail—and where experience matters most.
Dense forests at elevation often sit on geologically active terrain. Iron deposits, magnetite-rich soils, and even certain granite formations generate localized electromagnetic fields that wreak havoc on compass calibration and control link integrity. During a recent shoot in a subalpine spruce forest at 4,200 meters, our FlyCart 30 experienced repeated compass errors and intermittent signal drops within 200 meters of the launch point.
The solution was systematic antenna adjustment.
The Antenna Protocol
Perform compass calibration at least 50 meters away from any vehicles, metal structures, or known mineral outcrops. The FlyCart 30's dual-compass system is robust, but it cannot compensate for calibration done next to a truck.
Elevate the remote controller antenna array. Use a tripod-mounted antenna extender to raise the controller 2 meters above ground level. In forest environments, ground-level signals bounce off tree trunks and wet soil, creating multipath interference. Elevation reduces this by 60–70%.
Orient the flat face of both antennas toward the drone's planned flight corridor. This is basic antenna theory, but under field pressure, operators often forget. The FlyCart 30's control link strength drops sharply when antenna orientation exceeds 45 degrees off-axis.
Switch to manual frequency selection if the automatic system is hunting between channels. In high-interference forests, the auto system can waste precious flight time cycling frequencies. Lock to the cleanest channel identified during your pre-flight RF scan.
Deploy a ground-based relay for BVLOS operations. If your filming route takes the FlyCart 30 behind a ridge or into a deep valley, a relay station positioned at the ridgeline maintains link integrity.
Pro Tip: Carry a handheld RF spectrum analyzer on every forest shoot. A quick 60-second scan at your launch site reveals interference sources invisible to the naked eye. Adjust your launch position even 30 meters in any direction based on scan results—this single step has saved more shoots than any other technique in our workflow.
Step 3: Route Optimization for Cinematic Passes
Designing the Flight Path
The FlyCart 30's route optimization software was designed for delivery corridors, but it adapts superbly to filming routes with the right approach.
- Define waypoints at every directional change, not just start and end points. Smooth cinema footage requires the drone to anticipate turns, and waypoint density controls this.
- Set speed between 3–6 m/s for dramatic reveal shots through forest gaps. The FlyCart 30 is stable at these low speeds even under load.
- Use altitude variation of no more than 15 meters per 100 meters horizontal distance to avoid aggressive pitch changes that destabilize gimbal footage.
- Program a hover-and-hold point at each critical shot location lasting 8–10 seconds. This gives you clean footage windows without pilot intervention.
- Build a return-to-home corridor that avoids the filming route—you do not want the drone retracing its path through areas where branches may have shifted in rotor wash.
BVLOS Planning
Many high-altitude forest filming scenarios require BVLOS operations. The FlyCart 30 supports this with its ADS-B receiver and advanced return-to-home logic, but regulatory and practical preparation is essential.
- Secure all necessary BVLOS waivers from local aviation authorities before arriving on location.
- Station visual observers at 500-meter intervals along the flight route.
- Pre-program emergency landing zones—clearings of at least 8 x 8 meters—every 400 meters along the route.
- The integrated emergency parachute activates automatically if the flight controller detects catastrophic motor failure, but manually triggerable deployment should be tested before every shoot day.
Step 4: Payload Configuration and Winch System Use
Mounting Cinema Cameras
The FlyCart 30's cargo bay is designed for boxes and parcels, not camera rigs. Adaptation requires custom mounting plates.
- Fabricate a vibration-dampened aluminum mounting plate that bolts to the existing cargo hook points.
- Use 4-point anti-vibration mounts rated for the camera rig's weight to isolate high-frequency motor vibration (the FlyCart 30's 8-rotor configuration produces vibration peaks at specific frequencies that can affect footage sharpness).
- Secure all cables with strain relief—wind forces at speed will rip unsecured SDI or power cables from connectors.
Creative Use of the Winch System
The FlyCart 30's winch system supports up to 40 kg and lowers payloads on a cable up to 20 meters below the aircraft. For forest filming, this is transformative.
- Lower a compact cinema camera on the winch below the canopy while the drone hovers above the treeline. This produces shots physically impossible to achieve any other way—smooth lateral tracking through dense forest interior without any rotor noise or downwash disturbing the scene.
- Use the winch for vertical reveal shots: start with the camera at ground level in a clearing, then retract while the drone gains altitude for a seamless ground-to-sky transition.
- The winch also enables safe equipment extraction from difficult terrain—lower a camera to a ground crew in a ravine, film the shot, and retract without landing.
Step 5: Dual-Battery Management at Altitude
The FlyCart 30's dual-battery system is not just about longer flight time. It is a redundancy architecture.
- Each battery operates independently. If one fails, the other sustains flight long enough for a controlled landing.
- At high altitude, pre-warm batteries to at least 20°C before flight. Use insulated battery bags with chemical warmers during transport to the launch site.
- Monitor per-cell voltage differential during flight. A differential exceeding 0.15V between cells at altitude indicates a battery struggling in the cold—land and swap immediately.
- Carry a minimum of 4 battery sets per filming day for high-altitude operations. The reduced flight times at elevation mean you will cycle through batteries roughly 40% faster than at lower elevations.
Common Mistakes to Avoid
- Skipping RF site survey: Launching without scanning for electromagnetic interference in forest terrain is the fastest way to lose a drone and an expensive camera. Always scan first.
- Overloading at altitude: The 30 kg payload spec is a sea-level number. Failing to derate for altitude and temperature leads to sluggish controls, excessive battery drain, and dangerous loss-of-thrust scenarios.
- Ignoring wind gradient: Ground-level wind readings mean nothing at canopy height. A calm clearing can sit beneath a 10 m/s wind corridor at treetop level. Always check wind at operational altitude with a pilot balloon or anemometer on a telescoping mast.
- Single-point GPS reliance: Dense canopy degrades GPS accuracy. The FlyCart 30 has RTK capability—use it. Set up a ground RTK base station for centimeter-level positioning that prevents drift into tree trunks.
- Neglecting the emergency parachute check: The parachute system requires periodic repacking and inspection. A parachute that has been stored compressed for months may not deploy reliably. Check it before every shoot campaign, not just annually.
Frequently Asked Questions
Can the FlyCart 30 fly autonomously through a forest canopy?
The FlyCart 30 features obstacle sensing, but autonomous flight through dense canopy is not recommended. Thin branches, leaves, and hanging moss fall below the detection threshold of current obstacle avoidance sensors. Use autonomous mode for above-canopy transit and switch to manual or semi-manual control for any below-canopy work via the winch system.
How does the emergency parachute work if the drone is below the canopy?
The integrated emergency parachute requires a minimum deployment altitude of approximately 15 meters above ground to fully inflate and decelerate the aircraft. If operating at canopy level or using the winch system below the trees, the parachute may deploy into branches rather than open air. Plan your emergency landing zones accordingly, and always maintain at least 20 meters of clearance above the nearest obstacle when possible.
What is the maximum effective range in a forested mountain environment?
While the FlyCart 30's control link is rated for long-range operation in open environments, forest and mountain terrain realistically limits reliable communication to approximately 3–5 km without relay stations. Terrain shadowing, canopy absorption, and electromagnetic interference all reduce effective range. For BVLOS filming operations exceeding 2 km, deploy at least one ground-based relay station at an elevated position along the route.
Ready for your own FlyCart 30? Contact our team for expert consultation.